Last Updated on January 22, 2024
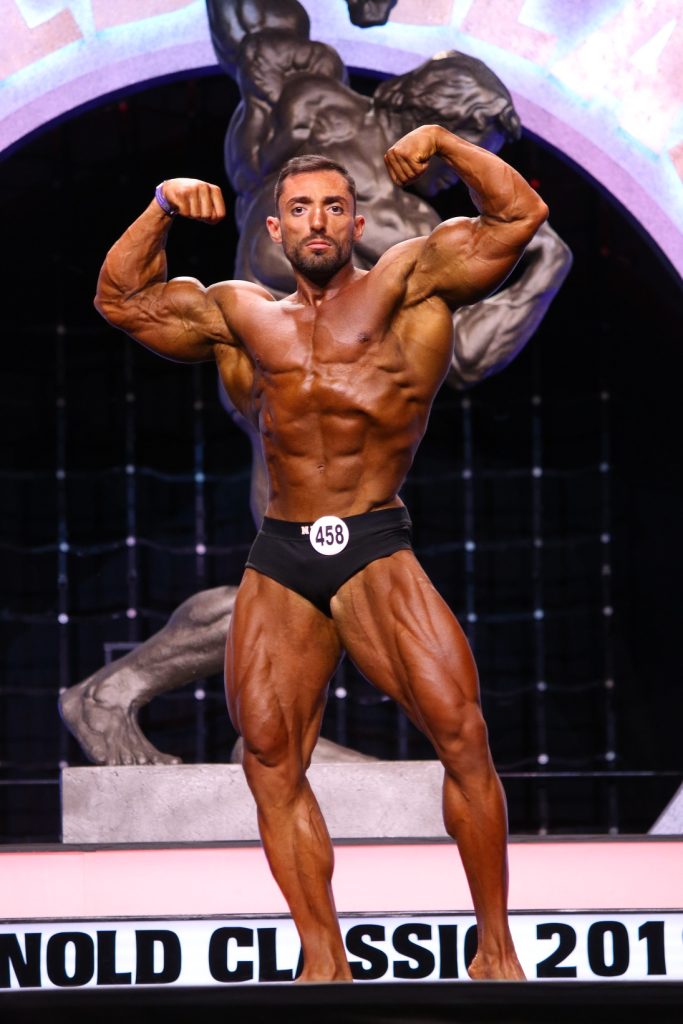
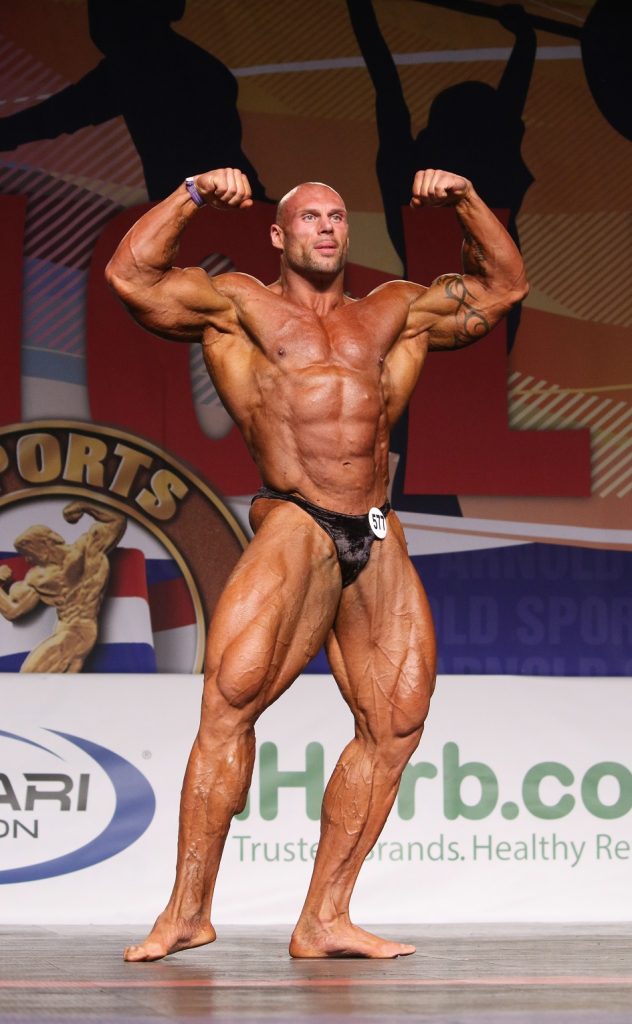
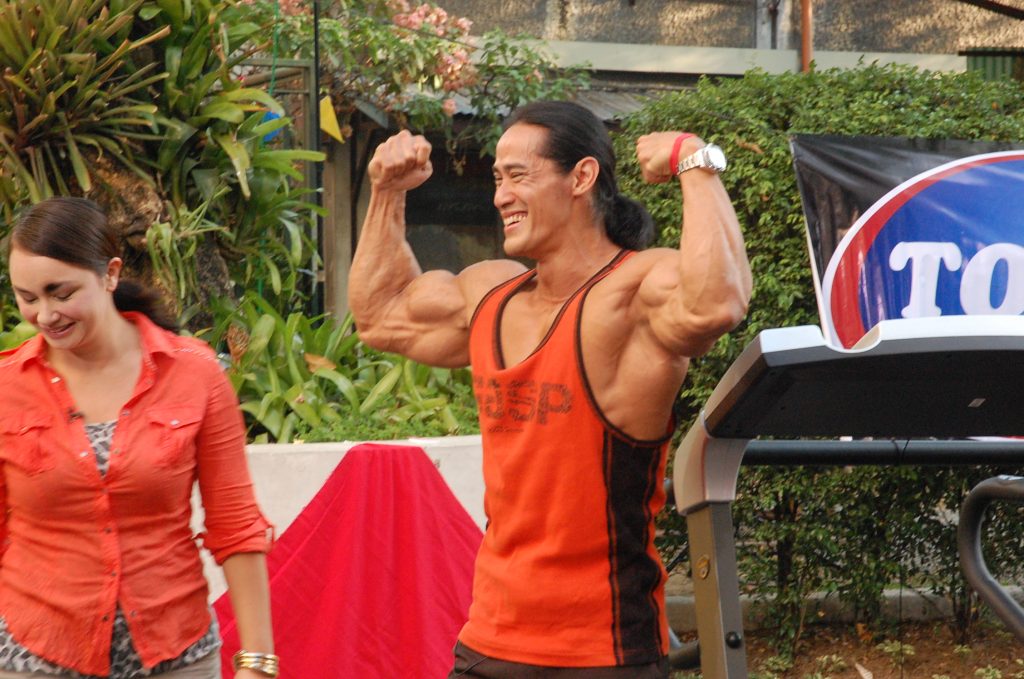
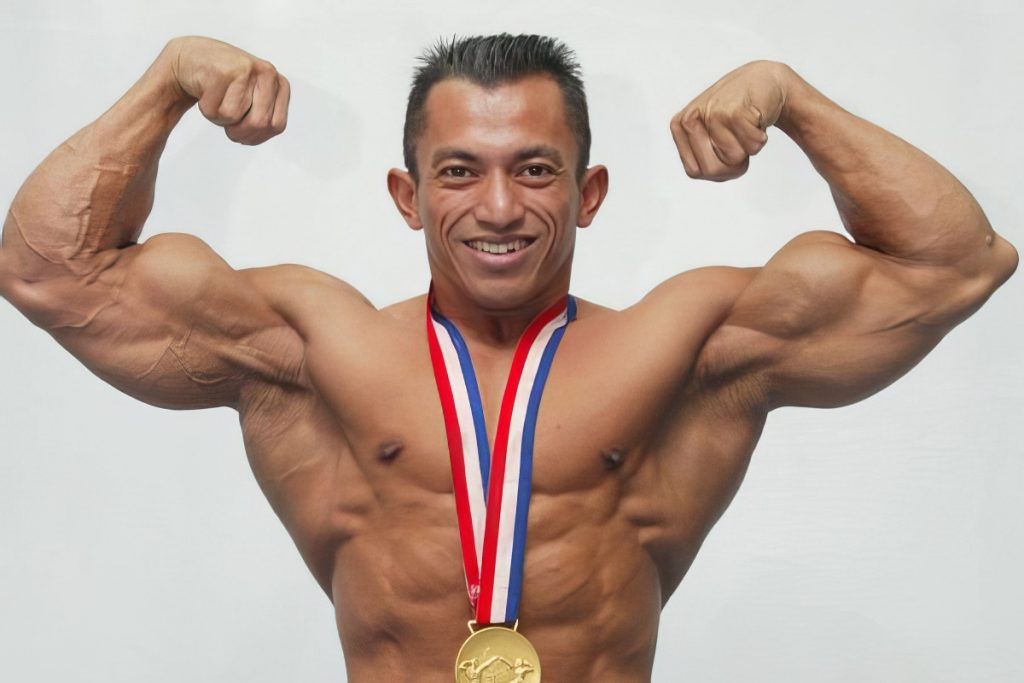
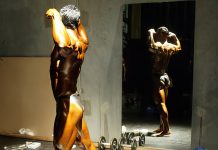
The front double biceps pose is an iconic staple in bodybuilding and fitness competitions, exuding strength, symmetry, and muscular definition. This pose, where you raise both arms and flex your biceps, isn’t just about the arms—it showcases your entire physique, from your shoulders and lats to your abs and legs. In this guide, we’ll break down everything you need to know about the front double biceps pose, covering essential anatomy, technique, tips, and ways to perfect this classic stance.
Understanding the Front Double Biceps Pose
The front double biceps pose is one of the fundamental bodybuilding poses used across competitions, often presented first in a lineup or comparison round. It highlights the upper body muscles—particularly the biceps, shoulders, and lats—and demands strong core and leg engagement to enhance the pose’s visual impact.
Why the Front Double Biceps Pose Matters
This pose is designed to showcase symmetry, muscular development, and the balance between the left and right sides of the body. It’s a challenging pose that requires precision, muscle control, and awareness of alignment to truly impress judges and audiences alike.
- Muscles Highlighted: Biceps, shoulders, chest, lats, abs, and even the quads and calves.
- Purpose: Demonstrates muscle size, definition, and balance between left and right sides, giving judges insight into your muscular development.
The Anatomy of a Front Double Biceps Pose
Before diving into the pose itself, it’s crucial to understand the muscles you’re showcasing. Here’s a breakdown of the key muscles involved and how they contribute to a powerful front double biceps pose:
- Biceps Brachii: The main muscle that runs along the upper arm. When flexed, it creates the iconic peak of the biceps.
- Shoulders (Deltoids): Adds width to the upper body, helping to create that V-taper when flexed.
- Latissimus Dorsi (Lats): The large back muscle that gives width to the torso and creates a tapered waist look.
- Chest (Pectorals): Provides thickness to the upper body, enhancing the depth of the pose.
- Core Muscles: Abs and obliques stabilize your pose and add definition, making your torso appear lean and strong.
- Legs (Quads and Calves): Although this is primarily an upper-body pose, flexing your legs gives a more complete and balanced look.
Steps to Mastering the Front Double Biceps Pose
Let’s walk through the steps for executing a powerful front double biceps pose. Each element counts, so focus on fine-tuning your technique.
Step 1: Find Your Foot Position
Your stance forms the foundation of the pose. Even though it’s an upper-body pose, your leg positioning impacts balance, stability, and symmetry.
- Position Feet Shoulder-Width Apart: Stand with your feet roughly shoulder-width apart, grounding yourself firmly.
- Slightly Shift Weight to One Leg: Shifting weight slightly to one leg can create a subtle twist, helping show off leg muscles and obliques.
- Flex Your Quads and Calves: Tighten your legs to add definition. Keeping legs relaxed can make your lower body look weak in comparison to your upper body.
Step 2: Raise Your Arms with Confidence
The arm position in a front double biceps pose is crucial. Aim to show off both your biceps and your shoulder muscles.
- Lift Both Arms Upward: Lift your arms to a comfortable height where you can fully flex your biceps. Elbows should be slightly higher than your shoulders.
- Make a Fist, Palm Facing Inward: Flexing with your fists closed helps create tension in your arms, showing off both the biceps and forearms.
- Angle Elbows Slightly Forward: This small adjustment can help maximize the appearance of the bicep peak, giving it a fuller, rounder look.
Step 3: Flex the Biceps and Forearms
Now that your arms are in place, focus on contracting the biceps to create that strong peak.
- Engage the Biceps First: Fully contract the biceps, focusing on a slow, controlled flex.
- Squeeze the Forearms: Tense your forearms as well, adding detail and balance to your arm appearance.
Step 4: Expand the Chest and Lats
The front double biceps pose isn’t only about the arms—it’s also about creating width and depth in your torso.
- Puff Out Your Chest: Take a deep breath and lift your chest slightly. This enhances the chest’s shape, making it appear broader.
- Engage Your Lats: Widen your lats by slightly drawing your shoulder blades back and downward. This creates the “V-taper” look, adding width to the upper body and tapering down to your waist.
Step 5: Flex the Core
Your abs and obliques add definition to the torso, so be sure to engage them properly.
- Engage Your Abs: Tense your core to make your abs visible and add a lean, defined look to your torso.
- Minimize the Waist Size: By flexing the core, you can make your waist appear smaller, emphasizing the V-taper created by the lats and shoulders.
Step 6: Align and Finalize the Pose
Take a moment to assess your alignment, as balance is crucial in this pose.
- Adjust for Symmetry: Check that your left and right arms are equally flexed, with no side overpowering the other.
- Breathe Steadily: Keep a steady breath while maintaining the pose. Holding your breath can lead to tension in the wrong areas.
Tips to Perfect Your Front Double Biceps Pose
- Focus on Symmetry: One of the key aspects judges look for in this pose is symmetry. Practice in front of a mirror or record yourself to ensure both arms, shoulders, and lats are equally engaged.
- Keep Elbows Slightly Forward: Positioning your elbows slightly forward can help enhance the fullness of your biceps. Play with minor adjustments to find what best enhances your arms.
- Practice with a Mirror and Videos: Self-assessment is invaluable. Watching videos of your poses allows you to see your stance from multiple angles, helping you catch any asymmetries or awkward placements.
- Use Breathing to Maintain Control: Focus on breathing evenly. Holding your breath can create unnecessary tension, while controlled breathing helps you focus and keeps you steady.
- Don’t Forget the Legs: Even though it’s an arm-focused pose, flexing your legs completes the visual symmetry and ensures that your whole body looks polished.
Common Mistakes to Avoid in the Front Double Biceps Pose
1. Over-Tensing the Arms
It’s tempting to flex as hard as possible, but over-tensing can make your biceps appear blocky rather than rounded. Focus on creating a controlled, peak flex for a balanced look.
2. Neglecting the Core and Lats
Your arms may be the main focus, but ignoring your core and lats can lead to a weak appearance. Engage your core for stability and widen your lats to emphasize the V-taper.
3. Leaning Forward or Backward
Your torso should remain upright. Leaning too far forward or backward can distort your symmetry, making one arm appear larger or misaligned.
4. Misaligned Arms or Shoulders
One of the most common issues is having uneven arm or shoulder placement. Regular practice in front of a mirror helps you develop the muscle memory for consistent alignment.
Building the Muscles for an Impressive Front Double Biceps Pose
To master this pose, focus on building the muscles that contribute to its visual impact.
Biceps Workouts
- Barbell Curls: Focus on progressive overload to build size and strength in your biceps.
- Hammer Curls: These target the brachialis muscle, adding width to your arm.
- Concentration Curls: Great for enhancing the peak of your bicep.
Shoulder Workouts
- Overhead Presses: A compound movement that builds the deltoids, creating width.
- Lateral Raises: Emphasizes the side deltoid, broadening your shoulders.
- Rear Delt Flyes: Important for balanced shoulder development, as it targets the rear delts.
Lat Workouts
- Pull-Ups: This classic move builds width in the back and adds to your V-taper.
- Lat Pulldowns: Another effective exercise for creating depth in your lats.
- Bent Over Rows: Targets the upper back and midsection of the lats, adding thickness.
Practicing the Front Double Biceps Pose for Competition or Photoshoots
Daily Practice Routine
- Start with 5-10 minutes of practice each day, focusing on muscle engagement and alignment.
- Work on holding the pose for 10-15 seconds at a time, gradually building up to longer holds.
Feedback and Corrections
- Film yourself posing to observe your alignment and adjust as needed.
- Seek feedback from experienced competitors or a coach who can help you refine your stance.
Working on Transitions
Transitioning smoothly between poses, including the front double biceps, is important for competition. Practice moving from one pose to another fluidly, making each transition look natural and confident.
Conclusion
The front double biceps pose is a blend of power, precision, and symmetry. It’s more than just a bicep flex; it’s about showcasing your entire upper body and creating a balanced, powerful stance. By understanding the key steps, focusing on muscle engagement, and avoiding common mistakes, you can master this classic pose. Consistent practice, muscle conditioning, and attention to detail will bring out the best in your physique, impressing both judges and audiences. Keep refining your technique, and you’ll be ready to flex with confidence on stage or in front of the camera.
